If you're facing the aftermath of water damage in your home, one of the common challenges you might encounter is dealing with damaged wood. With the right know-how and techniques, you can restore water damaged wood to its former glory with success. In this guide, we'll explore how to fix water damaged wood, step by step, along with some useful tricks to keep your wooden surfaces safe and sound. However, if you are searching for Plover water damage restoration, we’ve got you covered.
How Can Water Damage Wood?
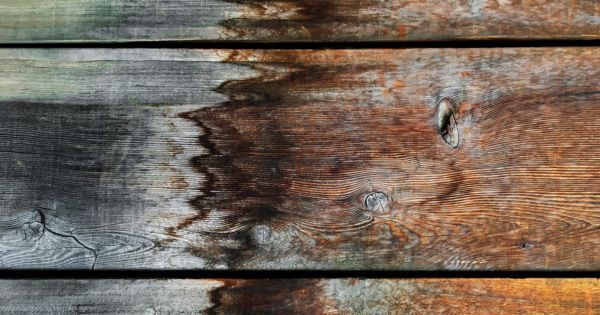
According to IICRC, water can wreak havoc on wood in many different ways, compromising its integrity and appearance. When wood is exposed to moisture over time, it can lead to deterioration and structural issues. Prolonged exposure to water can weaken the fibers of the wood, causing it to swell, warp, and eventually rot. Besides, moisture creates an ideal environment for mold and mildew to develop, leading to unpleasant stains and potential health issues. Overall, water damage can weaken the structural integrity of the wood and take from its aesthetic appeal.
Identifying the Signs of Water Damage on Wood
When assessing water damage on wood, look out for these telltale signs:
- White Circles: These cloudy or milky spots appear on the surface of wood.
- Black Circles: Dark stains on wood caused by mold or mildew growth.
- Discoloration: Changes in the natural color of wood, often resulting in a faded look.
- Warping: Bending of wood caused by uneven drying, resulting in a twisted shape.
- Bending: The gradual flexing of wood leading to a curved or bowed appearance.
- Buckling: Wood swells and rises up from its surface, often occurring in flooring or panels.
- Softness or Sponginess: Wood becomes less dense and yields to pressure.
- Mold Growth: Fuzzy or discolored patches on wood surfaces.
- Musty Odor: Unpleasant smell caused by mold, mildew, or stagnant water.
How to Fix Water Damaged Wood?
If you notice any of the signs, here are the steps you can follow in the process of repairing damaged wood:
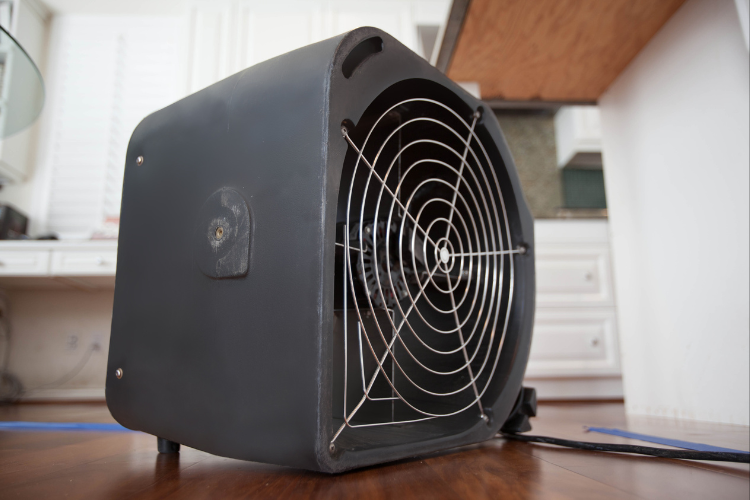
- Let the Wood Dry: Begin by allowing the wood to dry completely. Remove any standing water and use natural sources in the drying process.
- Take Out Any Decaying Elements: Remove any decayed or rotted sections of the wood using a chisel or sandpaper. Ensure that you remove all traces of decay to prevent further damage.
- Treat Water Stains: For water stains, you can try using petroleum jelly, mayonnaise, or oxalic acid. Apply the chosen treatment to the affected area and let it sit for a few hours before wiping it off.
- Sand the Wood Down: Once the wood is dry, sand the surface to remove any remaining stains or imperfections. Start with a coarse-grit sandpaper and gradually move to finer grits for a smooth finish.
- Fill in Gaps or Cracks: Use wood filler or epoxy resin to fill in any gaps or cracks in the wood. Ensure that the filler is completely dry before moving on to the next step.
- Smooth the Wood with Sandpaper: After filling in the gaps, sand the surface again to ensure a seamless finish. This will help blend the repaired areas with the rest of the wood.
- Apply Glue to Any Loose Joints: If the water damage has caused any joints to become loose, apply wood glue to secure them back in place. Clamp the joints together until the glue dries completely.
- Stain or Paint the Wood: Once the fixes are finished, you can choose to stain or paint the wood to match its original appearance. Make sure to use a waterproof finish to protect the wood from future water damage.
- Coat the Stain with Varnish:
Finally, apply a coat of varnish or sealant to protect the wood and enhance its durability. This will help seal the surface and prevent moisture from penetrating the wood in the future.
Useful Tricks
Here are some tricks for repairing wood you can easily use at home:
- Steam iron method: Place a damp cloth over the water damaged area and use a steam iron to apply heat. This can help lift stains and restore the wood's appearance.
- Tea bag technique: Soak a tea bag in hot water and place it over water stains on the wood. The tannins in the tea can help darken the wood and camouflage the stains.
- Vinegar solution: Mix equal parts vinegar and water and use it to wipe down water damaged wood. Vinegar has natural antifungal properties that can help prevent mold growth.
- Baking soda paste: Make a paste using baking soda and water and apply it to moldy or stained wood. Let it sit for a few hours before scrubbing it off with a brush.
- Lemon juice and salt scrub: Mix lemon juice and salt to create a natural abrasive paste. Use it to scrub away stains and brighten the wood's surface.
Contact Superior Cleaning & Restoration
If you are not willing to tackle the task alone,
Superior Cleaning & Restoration can be your partner during the repairs. Our professionals are equipped to handle all water damage restoration needs, so don’t hesitate to contact us! Give us a call at (715) 768-6030 or submit our
online form.
More To Explore
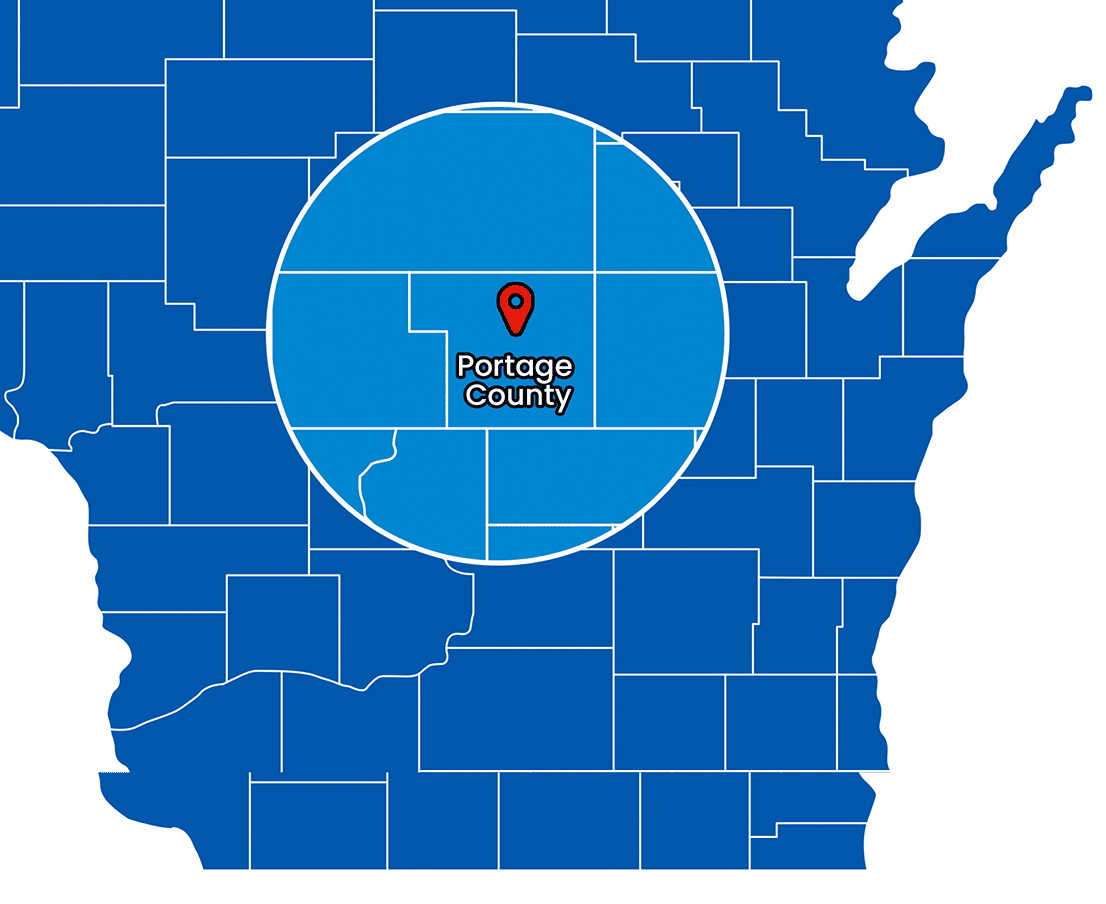
Superior Cleaning & Restoration Service Areas
Get A Free Estimate
Do you have questions, need more information, or a would you like a worry-free, no obligation estimate? Fill out this bit of information and we'll contact you asap!
Need Help With Cleaning & Restoration?
GET A FREE QUOTE TODAY
We are IICRC certified and hire only the most trustworthy and dedicated team members to ensure that each job is taken seriously and handled with absolute professionalism.